This weekend I have an overdose of hills and mountains ... The two highest mountains I see from home, the Tibidabo and Chicken Turó were my goals on Saturday and Sunday respectively. The two races ran through mountains, so the opportunity to test the Paths or Routes Forerunner was unsurpassed. I have asked for the process, so I'll try to reproduce. If someone finds a way to make please tell me, I think you could save a step ...
past, do my daily workouts, today was quite normalillo after undeserved break on Monday. 9.26 miles away in gradual, beginning at 6:02 and arriving at 4:38, the best, beats below 150 to kilometer 8, I started to tighten just a bit. 142bpm average, average rate of 5.17 and good feelings. Morning to see if it goes a little faster, and for Thursday series.
And now for the fun! How to run a route that we have not ever run stored in the Forerunner, and that our beloved gadget indicating the direction we go and not get lost in any crossing.
1 - Create the route with Google Maps Google Maps
is complete to create our own routes. Even published a career path in Google Maps format, eg Half Marathon Terrassa, if I remember correctly. But the funny thing is to make a path ourselves. For this, one of the most direct routes is to enter the GMail page with your username and password, open a new tab in the browser and then going to http://maps.google.es .
Once we get there, you have to go to the place you're going to do the route. We can go moving the controls of Google Maps, or for example write the site name in the search bar and press Enter.
Once we located the area where we do the route, we clicked a link that says "My Maps" under the logo of Google Maps will see. Clicking on it, maps appear that you have created earlier, and another link that says "Create new map." Fearless Click on "Create new map", and start ... We
prompted for a title, which we like, and then the fun begins. At the top left of the map are three icons, a hand, a kind of pin and a broken line. Click on the broken line and the cursor will turn into a cross. We go to the starting point of our route, and click once with the mouse. Move the mouse to the second point, and re-click once. It will draw the route step by step. We repeat this process until the entire route. Do not worry if does not work, then you can tweak. Id drawing the route, though not 100% accurate. When you are done, you have to click with the mouse just above the last point where we have played. And ready. We asked for a name for the route, enter and press OK.
probably will not have been perfect. You can go with the mouse to any of the items you have placed, click and hold, move the cursor to the right place and drop it there. If you lack some point, are moving the mouse to the midpoint of the line joining two consecutive points, pinchais, and hold, are moving the point to create a waypoint. Let go, and it stays put. If
pinchais error over the last point before the end of the route, there is a trick. It consists of clicking on the last point, take it far enough, and then go, repeating the process I explain in the previous paragraph in order to create waypoints.
When we have our route on Google Maps, we turn to the next step.

2 - Export the route to Google Earth
When we have our route on Google Maps, you have to pass it to Google Earth. If you do not have it, install it from this link is free, runs on Windows, Mac and Linux. Back to Google Maps, and click on "View in Google Earth", which is above map on the right side. In our browser, open Google Earth directly or download a file with a. Kml. If you have not open Google Earth, arrancadlo and click on File - Open, locate the file. Seleccionadlo kml and.
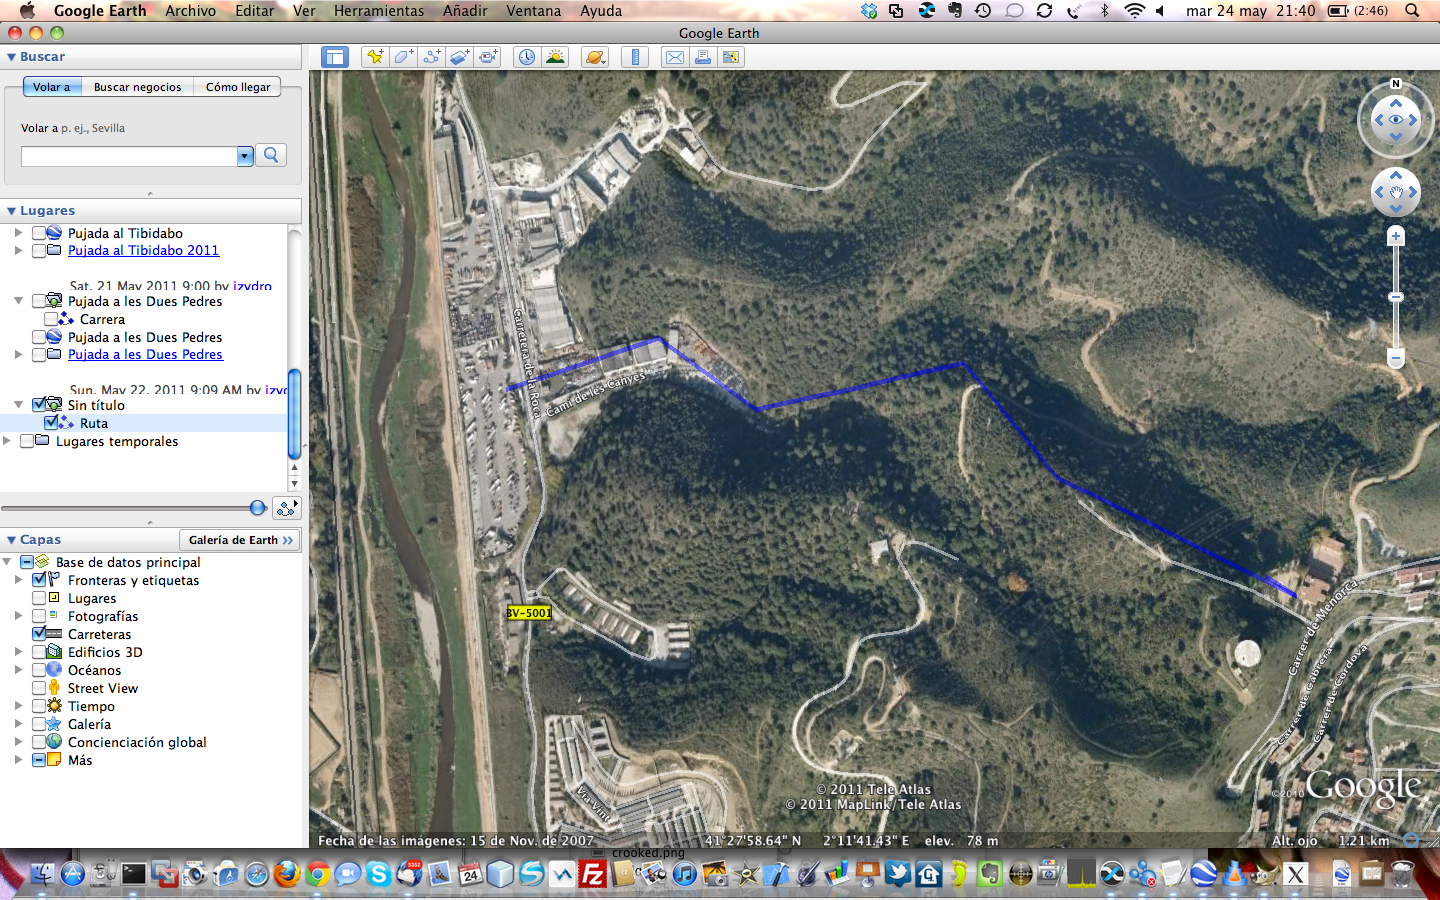
In the section "Temporary Places of Google Earth" find the path you have created. Click twice on the name of the path we have created, and Google Earth will show us on the map. When we see that is the correct path, you must click the right button in the name of the route, under "Temporary Places in Google Earth" and click on the "Save to My Places. Then look for the route, but instead of "Temporary Places Google Earth ", the look in your" favorites. "right-clicking on the name of the route, and then click the" Save rather how. "Select the format. kml, not. kmz, and choose the name you want to save it.
This step is very important. Google Maps writes a file whose extension is. kml, but if you do this process, that file will not work for the third step, which is what comes next.
3 - Convert GPX route
already have a. kml with the route. You can check, if you open the file with a text editor, you must have a lot of numbers that are coordinates. However, if you open the. Kml recorded by Google Maps, you'll see that has a URL instead of the coordinates.
now need a program called GPS Babel. can download it here , it's free, of course. When installed you put it up. In the input options, select the format "Google Earth (Keyhole) Markup Language." In Output Options, Format "GPX XML". Click on the file chooser entry options, look for the file. Kml who have recorded with Google Earth and seleccionadlo. We do the same in the section of output options, and choose a name for the file to be recorded. Click Apply, and ready. We can close. And we're almost.

4 - Convert GPX to CRS
The Foreruner accepts a proprietary format to import routes, with an extension of CRS. To convert our. Gpx in. Crs, we downloaded the Gpx2Crs of this direction. Open the file. Gpx2Crs.exe zip and extract. For those who have Macs, good news, it works with mono. Punctured twice, or use the monkey, and we will get a tab you can select the file. Gpx we created in the previous step. We can choose the pace at which we run the route, and once done, select "Convert", choose the file name Agrabad pair, for example ruta.crs, and we're almost.

5 - import the route on the Garmin Training Center
For this last step I have not found a way to do it on the Mac, necessarily have to use Windows or VMware on my case. Open the Garmin Training Center. We click on File - Import to current user account - Journeys, we select our file. Crs, and we already have. Finally, we sent the sketch to the device, or if you have a Mac, select the route, click File - Export, was recorded in tcx format and then import it to the Garmin Training Center for Mac, send it to your device, synchronize, and ready.

6 - run!
When we have the sketch in the Forerunner, select Training - Pathways, we chose ours, select Do Course, press Start when we are ready, and enjoy!
7 - Questions and answers
is the first tutorial that I dare to do. If anything is unclear or not working, please let me know and I'll update. And if you worked, tell me too, I will look forward ... :)

